
The easiest way to floss with a dental bridge
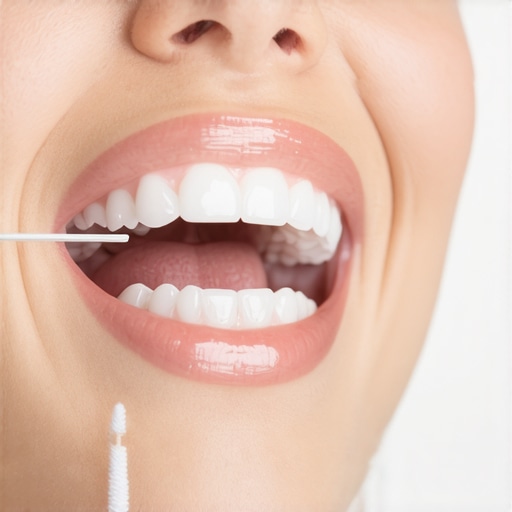
I remember the day I first got a dental bridge. At first, I thought, “No big deal—just like flossing any other tooth, right?” But as I tried to clean around that new spot, I immediately realized I was in for a challenge. Flossing, which once took less than a minute, suddenly felt complicated and frustrating. I’d struggle to get the floss between my teeth, and often, it would slip or shred. It was a lightbulb moment that made me ask, “How can I make this easier?” and start searching for an effective solution.
The Biggest Flossing Challenge with Dental Bridges
Many folks with dental bridges face this exact problem. The traditional flossing methods simply don’t work well around bridges because the gum area and the gaps are different from natural teeth. If you don’t clean thoroughly, plaque and food particles can build up, risking gum disease and decay beneath the bridge.
What I’ve learned over time is that the key isn’t just the floss, but *how* you floss around a bridge. Early on, I made a classic mistake: using regular floss without considering the unique bridge structure. It’s surprisingly easy to miss spots, especially if you’re not using the right technique. Trust me, I’ve been there. My gums often felt sore and swollen, and I wondered if I was doing damage. Turns out, the wrong flossing method can cause irritation and even damage your gums. So, if you’ve struggled like I did, you’re not alone. But the good news is, with a little guidance, flossing around a bridge can become quick, easy, and effective.
Now, let’s uncover the simple, straightforward way to floss with a dental bridge, so you can maintain your healthy smile without the hassle. If you’re curious whether this method really works, or if you’ve tried everything without success, don’t worry. I’ll walk you through it step by step, explaining exactly what worked for me and many others.
Ready to see how this can transform your oral hygiene routine? Excellent, because what’s coming next could save you a lot of time and discomfort—and keep your smile brighter for years to come.
Is Flossing with a Bridge Worth the Effort or Just Overhyped?
Initially, I was skeptical, too. I thought, “How much difference could one technique make?” But I learned that neglecting proper flossing can lead to serious issues, like gum inflammation and decay, which might jeopardize the stability of your bridge. Making this mistake early on—ignoring the importance of proper flossing—made me appreciate the value of investing a few extra seconds in the right technique. For more insights on how to avoid common oral health pitfalls, check out [Top Oral Health Tips for Your Family’s Bright Smiles](https://familydentistpro.com/top-oral-health-tips-for-your-familys-bright-smiles). Now, let’s dive into the step-by-step method that changed everything for me.
Choose the Right Flossing Tools
Start with waxed floss, interdental brushes, or specialized bridge flossers. I once grabbed a regular floss and struggled to maneuver it around my bridge, causing irritation. Instead, I recommend using floss picks with a curved end. It’s like having a mini hook for stubborn spots. This tool helps reach those tricky areas without damaging your gums.
Prepare Your Flossing Technique
Secure the Floss
Cut a generous length of floss—about 18 inches. Wrap most of it around your middle fingers, leaving a few inches between your hands. This gives you control and prevents slack. My first attempt was messy; the floss kept slipping. So, I practiced wrapping it tightly between my fingers to maintain tension.
Position the Floss Correctly
Gently insert the floss underneath the bridge’s pontic (the false tooth). Think of it as threading a needle—careful yet firm. Avoid snapping or forcing the floss, which can hurt your gums. I once tried to force the floss under with a quick jab and ended up bleeding. Slow, deliberate motions are key.
Effective Flossing Techniques
Use a Zig-Zag Motion
Gently rub the floss against the sides of both your natural teeth and the pontic, forming a ‘C’ shape around each. Moving the floss in a zig-zag motion cleans plaque and food debris. I remember the first time I did this, it felt awkward at first, but within a week, my gums were less swollen.
Maintain Tension and Lift Gently
Keep the floss taut as you slide it along the sides—this prevents food from getting trapped. When you reach the back, lift the floss gently to avoid pulling on sensitive areas. It’s like petting a delicate cat—you want to be gentle yet thorough.
Rinse and Inspect
After flossing, rinse your mouth thoroughly with water or mouthwash. Check for any remaining debris or bleeding. Don’t be alarmed if your gums bleed initially; this is common when starting new flossing routines. Eventually, your gums will become healthier with consistent practice.
Key Tips for Success
- Floss daily, preferably at night when your mouth is less busy with food particles.
- Use floss picks or interdental brushes for easier access, especially behind molars.
- Don’t force the floss; patience is your best friend. Remember, practice makes perfect, as I learned when I first felt clumsy.
By adopting this method, I personally found flossing around my bridge became quicker and less painful. Proper technique helps prevent gum irritation and ensures your bridge remains healthy and secure. For more information on maintaining a healthy smile, visit this detailed guide on crowns.
Many people assume they fully understand the basics of orthodontic treatments like Invisalign or dental restorations such as crowns, but there are often overlooked nuances that can make a significant difference in outcomes. For instance, a common myth is that Invisalign is only suitable for minor corrections. In reality, experts warn that case selection is critical, and attempting complex movements without a proper assessment can lead to prolonged treatment or suboptimal results. According to a study published in the Journal of the American Dental Association, misjudging case complexity can increase the risk of relapse and require retreatment, emphasizing the importance of consulting qualified specialists.
Another often missed detail in family dentistry is the importance of personalized maintenance routines for different age groups. Many assume that children and adults can follow the same dental hygiene practices, but tailored advice can prevent issues like early enamel erosion or gum recession. Overlooking such nuances can lead to preventable problems down the line.
When it comes to crowns, a frequent mistake is underestimating the significance of material choice. While porcelain crowns are popular for their aesthetics, they may be more prone to chipping in patients with bruxism. Conversely, metal crowns, though durable, might compromise appearance. A comprehensive understanding of these subtle differences can save patients from future discomfort or costly replacements. For more insights, visit https://familydentistpro.com/why-crowns-are-a-game-changer-in-restorative-dentistry.
So, what about the less obvious pitfalls that even experienced practitioners sometimes overlook? One critical detail is the proper bonding technique for crowns and implants. Improper bonding can lead to irritation, loosening, or even failure, which can be avoided with updated protocols and material science advancements. This nuance is often underappreciated outside specialized circles, yet it can determine the longevity of your dental work.
Furthermore, common myths about oral health advocate that brushing harder cleans better. In fact, aggressive brushing can damage enamel and gums, accelerating issues like recession or sensitivity. The principle of gentle, thorough cleaning paired with appropriate tools is far more effective—and safer. If you’re interested in learning more professional tips, explore https://familydentistpro.com/top-oral-health-tips-for-your-familys-bright-smiles.
Finally, it’s crucial to recognize that the success of any treatment depends not only on the procedure itself but also on patient compliance and understanding of proper maintenance. For example, many neglect the importance of regular check-ups and the subtle signs indicating early complications. Being vigilant about these small details can significantly enhance long-term results.
In essence, these seemingly minor nuances—ranging from case assessment, material selection, bonding protocols, to patient habits—are the real keys to achieving superior dental health and aesthetics. Don’t let common misconceptions or overlooked intricacies undermine your smile. Have you ever fallen into this trap? Let me know in the comments and share your experiences or questions!
Ensuring your dental restorations, like crowns and Invisalign, stay in top shape requires more than just good brushing habits. Having the right tools and understanding best practices can make all the difference in prolonging their longevity and maintaining optimal oral health. One of my go-to tools is the interdental brush—specifically, the TePe Interdental Brushes. I personally prefer these because of their slim design, which easily reaches between teeth and around crowns, promoting thorough cleaning without damaging delicate areas.
Another critical piece of equipment I rely on is the USB-powered water flosser. Unlike traditional floss, water flossers like the Waterpik deliver pulsating water jets that dislodge plaque and food debris effectively, especially around crowns and implants. I’ve noticed that integrating a water flosser into my routine reduces gum inflammation and keeps my restorations sealed tight.
Beyond tools, software solutions like digital monitoring systems help track your oral hygiene progress. Some apps even sync with Bluetooth-enabled toothbrushes, providing real-time feedback on brushing angles and pressure, which is essential for protecting crowns from undue wear. I use the Philips Sonicare App paired with my Sonicare toothbrush, and it’s been instrumental in fine-tuning my technique.
How do I maintain my dental work over time?
Regular check-ups are crucial, as your dentist can spot early signs of wear, loose crowns, or plaque buildup. Additionally, scheduled professional cleanings ensure that even the best at-home routines are complemented by expert care. Remember, caring for crowns and restorations means understanding the nuances of material wear and seal integrity.
Looking ahead, advancements like AI-powered dental diagnostics and enhanced cleaning tools are poised to revolutionize long-term maintenance. Just recently, a study from the Journal of Dental Research discussed how machine learning algorithms can predict wear patterns in crowns, enabling preemptive repairs before failure occurs. Staying informed about these innovations can help you adopt the most effective strategies early on.
My advice? Start by incorporating a high-quality interdental brush and a water flosser into your daily routine. These tools have consistently helped me prevent complications and extend the lifespan of my dental work. Why not give them a try today and see the difference for yourself?
For more detailed guidance, explore this resource on choosing long-lasting crowns and ensure your investment endures for years to come.
The Hardest Lesson I Learned About Flossing with Bridges
One of my biggest realizations was that even minor changes in my flossing technique could make a huge difference in gum health and comfort. I used to push through with regular floss, ignoring the delicate nature of the area around a bridge, only to end up irritated and bleeding. This taught me the importance of patience and using proper tools rather than relying on brute force.
Why I Stopped Flossing the Wrong Way
I discovered that forcing floss under a bridge can cause soreness and even damage the gums, which ironically set back my oral health efforts. Switching to interdental brushes and learning gentle, methodical techniques transformed my routine. It’s a reminder that mastering the right tools and patient technique can lead to better outcomes than rushing or forcing your way through.
The Power of Consistency and Small Tweaks
Over time, I found that doing a little bit each day—focusing on gentle, thorough cleaning—prevented plaque buildup and maintained my bridge’s integrity. Even minor adjustments, like using floss picks with curved ends, helped reach tricky spots. This experience highlighted that persistence and attention to detail often trump hurried attempts when caring for dental restorations.
My Toolkit for a Healthy Smile with Bridges
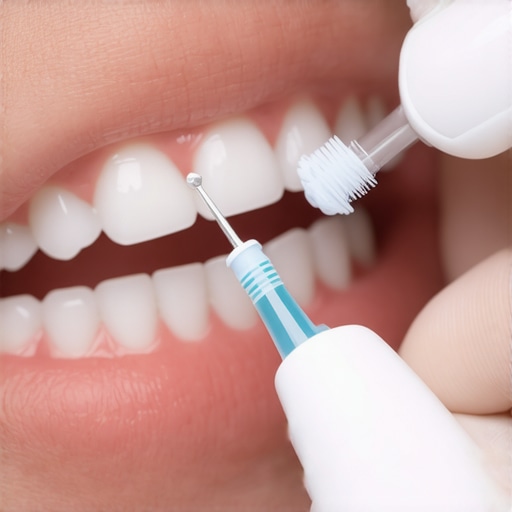
The interdental brushes from TePe became my go-to for gentle cleaning around my bridge, especially in tight spaces. Additionally, I integrated a Waterpik water flosser, which dislodged debris without risking gum irritation. These tools, combined with regular professional check-ups, ensured my dental work stayed secure and my gums healthy. Learning to use them properly was a game-changer, and I highly recommend their use for anyone with similar restorations. For more insights on protecting your crowns, visit this guide on crowns.
Never Underestimate the Value of Gentle Care
One vital lesson I’ll never forget is that aggressive brushing and flossing do more harm than good—especially around delicate areas like bridges and crowns. Gentle, methodical cleaning with the right tools has preserved my restorations and prevented pain. If you want to avoid common pitfalls, simple habits and patience are your best allies.
Take Action and Keep Smiling Brightly
Flossing around dental bridges might seem challenging at first, but with the right approach, it becomes second nature. The rewards—healthy gums, secure restorations, and a confident smile—are worth the effort. Have you ever struggled with a specific step in your routine? Share your experience below and let’s learn from each other’s journeys toward better oral health.