
The reason your gums bleed only when you use a firm toothbrush
I used to think my mouth was a construction site. I would buy the firm or extra-firm bristles because, in my head, a harder scrub meant a cleaner smile. I wanted that squeaky-clean feeling, the kind where you can almost hear your enamel shining like a polished car hood. Instead, I ended up staring at a sink full of pink foam every single morning. I wasn’t just cleaning my teeth; I was literally sawing away at the very foundation of my smile. It was a painful, metallic-tasting realization that more power is often the worst possible philosophy for oral hygiene. Over time, I learned that those aggressive bristles were the sole reason for the carnage.
That Stiff Brush is Actually a Tiny Sandblaster
If you have noticed that you only bleed when you break out the heavy-duty bristles, you are not alone. It is a trap many of us fall into. We assume that soft bristles are wimpy or won’t get the job done properly. But here is the reality: your gums are made of delicate soft tissue, not sidewalk concrete. When you use a firm brush, you are not just removing plaque; you are causing micro-trauma to the gingival margin. This is often the primary reason why your gums bleed only when you use a firm toothbrush. I made this mistake for years, thinking if I didn’t see a little red, I wasn’t working hard enough. Eventually, I started noticing signs that my gums were receding, and that is when the panic truly set in. It turns out that plaque is actually quite soft and easy to remove; it does not require a scouring pad approach. Using a stiff brush is like using a steel wool sponge to wash a silk blouse—you are going to tear the fabric eventually.
Is a harder scrub actually better for getting rid of plaque?
It is a common bit of skepticism. We are taught from a young age that hard work pays off, so we naturally apply that logic to our teeth. However, the American Dental Association (ADA) specifically recommends soft-bristled brushes because they are flexible enough to reach under the gum line without slicing it open. In fact, research published in the Journal of Periodontology suggests that improper brushing technique with hard bristles is a leading cause of non-inflammatory gum recession. If you have ever wondered why your gums feel tender after a routine cleaning or why they seem to react only to specific brushes, it is time to listen to that feedback. Your body is telling you that the tools you are using are too aggressive for the job. Following some basic family dentistry secrets can help you transition to a gentler, more effective routine that preserves your smile for decades. Have you ever finished brushing and felt like your mouth was more sore than clean? Tell me if you have been a hard brusher like I was. Now that we know why the bleeding happens, let us look at the specific mechanics of how those firm bristles are interacting with your enamel and what happens if you do not make the switch soon.
Stop Brushing Like You Are Scrubbing a Tub
Changing your toothbrush is only the first half of the battle. The second half is unlearning the aggressive ‘sawing’ motion we all adopted as kids. Think of your teeth like fine china and your gums like silk. You wouldn’t use a wire brush on a porcelain plate, and you certainly wouldn’t scrub silk with a scouring pad. To protect your smile, you need to master the 45-degree angle. Instead of placing the bristles flat against your teeth, tilt them toward the gum line. This allows the soft tips to slide just beneath the ‘gingival margin’—that little pocket where plaque loves to hide and cause trouble. Most people focus entirely on the white parts of their teeth, but the real health happens at the border. I learned this the hard way after a check-up where my dentist pointed out signs that my gums were receding from brushing too hard. I thought I was being thorough, but I was actually pushing my gums away from my teeth.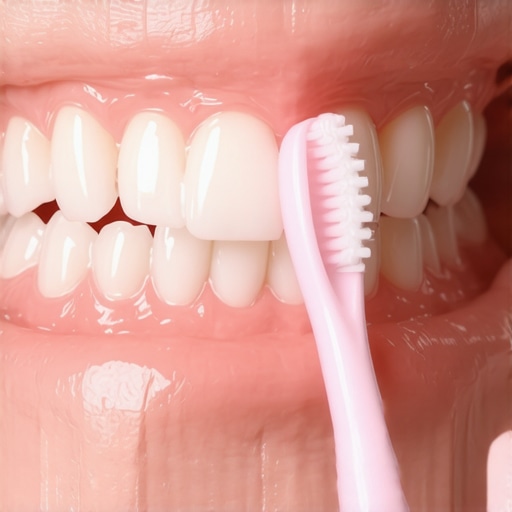
Aim for the Margin and Not Just the Enamel
When you start using a soft brush, the sensation is different. It feels almost too gentle, like you aren’t actually removing anything. During my first week of making the switch, I was convinced my mouth was still dirty. I kept checking for the reason your teeth feel fuzzy even after brushing because I missed that raw, scrubbed feeling. But that ‘fuzz’ is often just a mental trick. Use short, circular vibrating motions rather than long, horizontal strokes. This vibration dislodges plaque without the friction that leads to bleeding. If you have advanced dental work, such as crowns for a healthier smile, this technique is even more critical. Aggressive scrubbing can irritate the tissue around the crown, leading to inflammation that makes the restoration look ‘off’ or feel tender.
The Four Day Rule for Bleeding Gums
If you make the switch today, don’t expect the bleeding to stop by tonight. In my case, it took about four days of consistent, gentle brushing before the ‘pink in the sink’ finally vanished. Your gums are essentially bruised and need time to heal. If you notice that your gums bleed only in the back of your mouth, pay extra attention to your reach. We often get lazy with our angles when we move toward the molars, reverting to that old sawing motion because it’s easier to maneuver in tight spaces. This is also a common issue for those using modern Invisalign treatments; because the trays are removed for cleaning, you have a golden opportunity to brush the actual tooth surface without obstruction, but you must remain gentle. Following these family dentistry secrets for technique will ensure that your transition to a soft brush results in a healthier, pain-free mouth rather than just a different tool for the same old mistakes.
I used to believe that once a tooth was capped with a crown, it was essentially bulletproof. I thought I had replaced a vulnerable piece of biology with a high-tech shield of porcelain or zirconia. This is a massive trap that many patients—and even some long-time dental veterans—fall into. The truth is quite the opposite: a restoration actually creates a new, high-maintenance ‘seam’ in your mouth that requires more precision than a natural tooth ever did. If you ignore that seam, you will eventually notice why your gums are turning dark around the edge of a dental crown, which is usually a sign that bacteria have found a way into the gap. Have you ever fallen into this trap? Let me know in the comments.
The Myth of the Invincible Porcelain Shield
People often ask me about crowns vs veneers which is better for your smile, but the real question should be: which one can you maintain better? We tend to think of restorations as ‘finished’ projects, but in reality, they are ongoing maintenance tasks. While the porcelain itself won’t decay, the natural tooth structure underneath it is still very much alive and susceptible to cavities at the margin. This is why your new crown feels sensitive to cold drinks even weeks after the procedure; that interface between the human tooth and the man-made material is incredibly sensitive. A study published in the Journal of Dentistry highlights that marginal leakage—the microscopic seeping of bacteria under a restoration—is one of the most common reasons for prosthetic failure. If you are not using top oral health tips for your familys bright smiles, you might be letting plaque sit right at that vulnerable junction.
Why does my tooth still look gray even after I tried professional whitening?
This is a sophisticated question that hits on the ‘hidden nuance’ of dental aesthetics. Sometimes, the problem isn’t the surface stain; it is the internal structure or the way light interacts with an old restoration. If you are frustrated by the reason your teeth look gray instead of white, it might be due to an old metal-fused-to-porcelain crown reflecting through the gum line or even internal thinning of the enamel. In these cases, choosing the right crown expert advice for long-lasting results is essential because a modern, all-ceramic crown can mimic the light-transmitting properties of a real tooth, eliminating that gray shadow once and for all.
Don’t Trust a Standard X-Ray for Everything
Another common mistake is assuming that a quick 2D bitewing X-ray tells the whole story. While they are great for basic cavities, they often miss the subtle bone loss or complex root issues that happen behind the scenes, especially with modern Invisalign treatments or dental implants. I’ve learned that what a 3d cbct scan reveals that standard x-rays miss entirely can be the difference between saving a tooth and needing an extraction. These scans provide a 3D map of your jaw, showing the exact density of the bone and the health of the tooth’s ‘foundation.’ 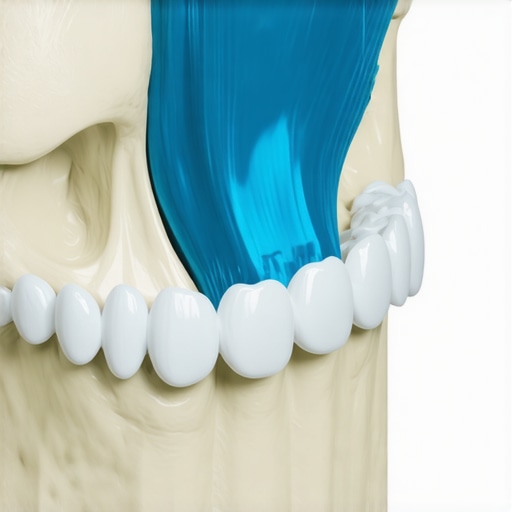 When you are investing in the ultimate guide to crowns for a healthier smile, you want to make sure the foundation is solid before the final porcelain is cemented. I once saw a case where a patient had a crown that looked perfect on a standard X-ray, but a 3D scan revealed a hairline fracture that was the real reason your crown feels tight after flossing. Avoiding these ‘oops’ moments requires moving beyond the basics of family dentistry secrets and embracing the technology that looks deeper than the surface.
The Trap of the DIY Fix
Finally, please avoid the ‘home repair’ trap. I have seen everything from the danger of using superglue to fix a broken denture at home to people trying to file down a high spot on their own. If why your new zirconia crown feels taller than your other teeth is bothering you, see a pro. Modern materials are incredibly strong but brittle in the wrong hands; a DIY adjustment can cause a micro-crack that leads to a total failure. If you are navigating invisalign myths debunked what you need to know today, remember that even a small change in your routine can have a ripple effect on your long-term oral health.
Upgrade to a Water Flosser Already
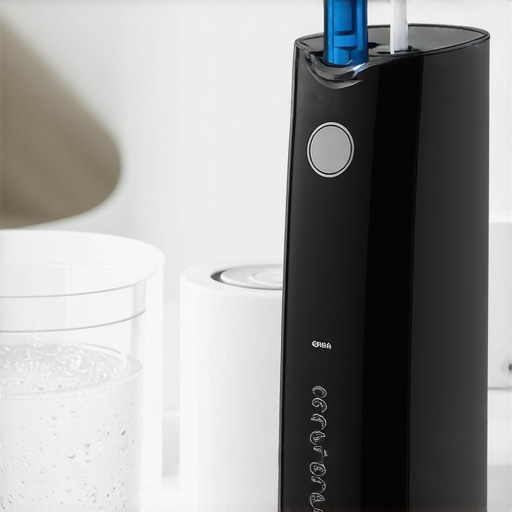
I’ve realized that the ‘set it and forget it’ mentality is the quickest way to end up back in the dentist’s chair. When it comes to tools, my absolute game-changer has been the high-pressure water flosser. If you have crowns or bridges, traditional floss can feel like a clumsy tug-of-war. I specifically use the Waterpik Aquarius on the ‘massage’ setting because it stimulates blood flow without damaging the tissue. Don’t be alarmed if why your gums throb after you use a water flosser for the first time is your first Google search; that sensation is often just your gums reacting to increased circulation, provided you aren’t blasting it on max power immediately. For those of us navigating how Invisalign transforms family dentistry, hygiene takes a specialized turn that requires more than just a manual brush.
Restorations are an investment, and like any fine machinery, they require specific cleaning protocols. According to a study published in the Journal of Clinical Dentistry, water flossing was found to be up to 50% more effective than traditional string floss for reducing gingivitis around complex dental work. I’ve also found that using a small ultrasonic cleaner for my aligners is the only way to avoid why your Invisalign trays are turning yellow even with regular cleaning. It’s a small, affordable device that uses sound waves to blast away plaque that a toothbrush simply cannot reach. If you are struggling with fit, mastering how to seat stubborn Invisalign trays using the munchie technique is far more effective than just biting down hard and hoping for the best.
How can I keep my dental work looking new for years?
The secret isn’t just in the brushing; it’s in the specialized decontamination of the ‘blind spots.’ If you have a dental implant, you’ve likely noticed how to stop your dental implant from trapping food every time you eat becomes a daily obsession. I recommend using an interproximal brush—those tiny Christmas-tree-shaped sticks—to sweep under the crown of the implant where the water flosser might miss. This is one of the more practical family dentistry secrets that professionals often forget to mention. For aligner users, you don’t need fancy tablets; the vinegar soak that safely sanitizes your retainers and guards works just as well and costs pennies. You can also learn how to keep your Invisalign trays clear without buying expensive cleaners by using basic household items like diluted hydrogen peroxide.
Your Smartphone is Your Next Dental Hygienist
I’ve recently started using a dental monitoring app that syncs with my smartphone. You take a weekly ‘scan’ of your teeth with your camera, and the AI flags any areas where the gums look inflamed or where an aligner isn’t seating properly. This kind of tech is no longer science fiction; it’s becoming a standard part of the family dentistry trends improving oral health for all ages. It bridges the gap between your six-month checkups and the daily reality of your mouth. Looking ahead, I predict that Invisalign innovations and the future of family dentistry will move toward bio-active restorations—crowns and fillers that actually release minerals to strengthen the surrounding tooth.
But until that high-tech future arrives, we are the primary guardians of our smiles. My challenge to you: swap your manual floss for a water flosser for just one week and see if that ‘squeaky clean’ feeling finally feels real. Your gums—and your dentist—will thank you.
The Three Truth-Bombs That Changed My Relationship with My Dentist
After decades of dealing with the dreaded ‘pink in the sink,’ I had a massive lightbulb moment: plaque is soft, but my ego was hard. Here is the insider wisdom I wish I had known years ago. First, your gums do not bleed because they are weak; they bleed because you are essentially exfoliating delicate tissue with the equivalent of a wire brush. Second, a dental restoration is never a ‘set it and forget it’ solution; it is a high-maintenance team effort between your dentist’s skill and your daily precision. Third, technology like 3D scans is not just an upsell; it is the only way to see the foundation of your jaw before a minor issue becomes a surgical emergency. Shifting my focus from ‘scrubbing’ to ‘preserving’ using these family dentistry secrets changed everything for my smile.
What I Keep in My Bathroom Cabinet for Peak Performance
I have narrowed my oral hygiene routine down to four non-negotiable tools that actually deliver results. I use a high-quality water flosser every single night to reach the microscopic ‘seams’ of my restorations, which is why crowns are a game-changer in restorative dentistry only if you keep the margins pristine. I also swear by interproximal brushes—those tiny, flexible sticks—for clearing out the gaps that standard string floss simply ignores. For anyone wearing aligners, an ultrasonic cleaner is a must-have to prevent the bacterial buildup that ruins your clarity. Finally, I always follow choosing the right crown expert advice for long-lasting results by using a pH-balanced fluoridated rinse that strengthens the natural tooth structure hiding underneath my porcelain work.
Your New Routine Starts with the Next Brush
Maintaining your long-term oral health is not about a single heroic effort once every six months at the clinic; it is about the quiet, gentle choices you make at your bathroom sink every morning and night. Whether you are currently navigating how Invisalign transforms family dentistry in 2025 or you are considering your very first restoration, remember that your mouth is a living ecosystem that requires a soft touch. Treat your gums with the respect they deserve, and they will reward you with a lifetime of pain-free meals and confident photos. Have you ever noticed your gums bleeding only in certain spots, or have you made the switch to a softer brush recently? Let me know in the comments below!