
How to floss around a temporary crown without pulling it off
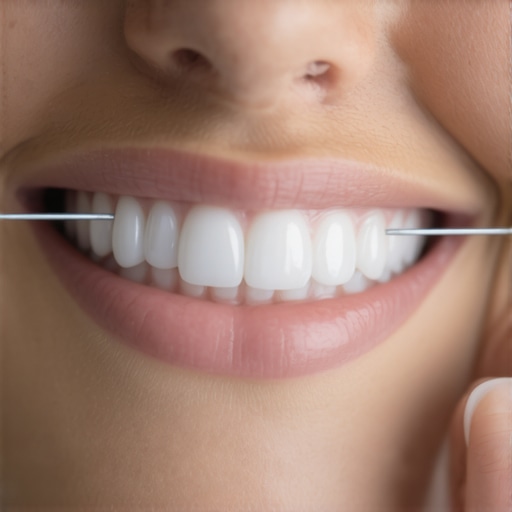
I’ll never forget the sound of my temporary crown hitting the bathroom tile at 6 AM. It was a tiny, terrifying “clink.” I had just finished my morning routine, gave the floss a confident upward snap between my molars, and—pop!—there went my temporary tooth. I stood there, staring at my reflection, feeling like a pirate and wondering why nobody warned me that temporary crowns are notoriously finicky eaters and flossers. It was a classic rookie mistake, and honestly, it’s one of those family dentistry secrets that usually gets lost in the post-appointment haze. If you’ve just come home with a new temp, you’re probably terrified to even touch it. I get it. But today, I’m going to show you exactly how to keep that area clean without a 6 AM disaster. We’re going to master the “slide-out” technique that saved my sanity (and my smile).
Don’t Snap Your Floss if You Want to Keep Your Tooth
The biggest hurdle with temporary crowns is the glue. Unlike the permanent version, the ultimate guide to crowns explains that temps are held on with “weak” cement by design. Your dentist needs to be able to pop it off in a few weeks without breaking your actual tooth. According to the American Dental Association (ADA), temporary restorations serve as a crucial barrier to prevent sensitivity and tooth movement while the lab works its magic. However, that same convenience makes them incredibly vulnerable to upward pressure. When you floss normally—snapping the string up and down—you’re basically using a tiny crowbar on your expensive dental work. I learned this the hard way after a very expensive weekend emergency visit. Have you ever felt that heart-stopping moment when a piece of dental work feels loose? Let me know if you’re currently in the “don’t-breathe-on-it” phase!
Is it really worth the risk to floss a temporary crown?
You might be tempted to just skip flossing that spot entirely until your permanent crown arrives. Please, don’t do it. Gums can get inflamed incredibly fast, and if they swell up, seating your permanent crown becomes a painful nightmare. Sometimes your crown feels tight after flossing because of minor gum irritation, which is exactly what we want to avoid. The trick isn’t skipping the floss; it’s changing your exit strategy. Instead of pulling the floss back up through the contact point, you have to let go of one end and pull it through the side. It sounds simple, but it’s the difference between a successful healing phase and feeling like your crown is shifting every time you chew. Let’s dive into the literal mechanics of how to handle this delicate dance without a single trip back to the dentist’s chair.
Pick the Right Tools for the Job
Before you even approach your bathroom mirror, check your floss stash. If you’re using that thick, un-waxed tape that feels like a wool sweater between your teeth, put it down. For temporary restorations, you need thin, waxed floss or a high-quality monofilament. You want the string to glide through the contact point like a skater on ice, not catch on the edges of the temporary acrylic. I remember my first time trying to use a thick string on a temporary molar—I got it stuck so badly I thought I’d have to live with a foot of floss hanging out of my mouth until my next appointment. Choosing the right material is the first step in choosing the right crown expert advice for long-lasting results even during the interim phase.
Guide the Floss Down with Zero Pressure
When you enter the space between the temporary crown and the neighboring tooth, do it with the delicacy of a master jeweler. Don’t force it. Gently seesaw the floss back and forth until it clicks through the tightest part. Once you’re below the contact point, hug the floss around the natural tooth next to the crown first. Clean that side thoroughly. Then, gently slide over to the temporary crown. You aren’t trying to scrub the life out of it; you’re just sweeping away the debris. If you feel any catching or jagged edges, stop immediately. It’s common for your new crown to feel sensitive to cold drinks or even pressure during this time, so being gentle isn’t just about the cement—it’s about your comfort too.
The Secret Exit Strategy That Saves Your Cement
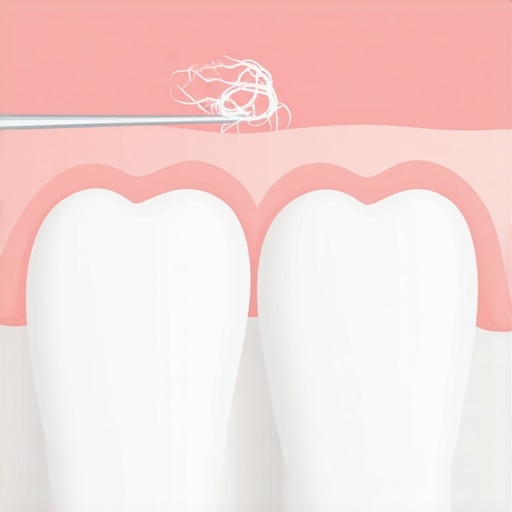
This is where most people fail. In your normal routine, you snap the floss back up through the teeth. With a temporary, that’s a one-way ticket to a loose tooth. Instead, let go of one end of the floss. Grab the other end and pull it slowly and horizontally toward your cheek. This “lateral pull” removes the floss without applying any vertical force to the temporary cement. I learned this the hard way after a Thanksgiving dinner when a piece of turkey got wedged deep. My instinct was to saw it upward. I felt a tiny vibration—that sickening feeling that the seal had broken. I had to bite down and hold the crown in place while I carefully pulled the rest of the string out sideways. Since that scare, I never pull upward on a temp.
Soothing Your Gums After the Cleaning
Because you’re being extra careful, you might notice your gums looking a bit redder than usual. This is normal, but you can’t let it progress. If you find the area feels tender after your nightly flossing session, try the saltwater rinse hack for immediate gum relief. A quick warm rinse helps keep the tissue tight against the temporary margin. If you’re a fan of high-tech gadgets, you might be tempted to blast the area with a water tool, but you need to know the trick to using a water flosser without making a total mess or, more importantly, without dislodging the crown with high-pressure settings. Keep the pressure on the lowest possible setting and aim it at the gum line, not directly under the edge of the crown. This ensures the area stays sterile without testing the limits of that temporary glue.
Let’s dig deeper because once that permanent restoration is finally cemented, most people make the fatal mistake of thinking the battle is won. Everyone tells you that a crown is a shield—a suit of armor for a weak tooth. But in my experience, that mindset is exactly what leads to premature failure. A crown doesn’t make a tooth invincible; it actually creates a new, high-maintenance landscape in your mouth that requires more attention than your natural enamel. The real ‘oops’ factor that catch patients off guard? Neglecting the margin. That’s the microscopic line where the crown meets your natural tooth. If you aren’t meticulous with your cleaning angle, your gums are turning dark around the edge of a dental crown because bacteria are throwing a party in that tiny, hidden crevice. Have you ever fallen into this ‘set and forget’ trap? Let me know in the comments.
Stop Treating Your Permanent Crown Like a Shield
The common belief is that you can just go back to your old habits once the porcelain is in place. However, a study published in the Journal of Prosthetic Dentistry emphasizes that the longevity of a restoration is 90% dependent on the health of the surrounding tissue, not just the material of the crown itself. This is where the truth about soft vs. hard toothbrushes for receding gums becomes vital. If you use a hard brush to ‘really get in there,’ you might actually push the gum line away from the crown margin, exposing the sensitive root and inviting secondary decay. It’s a delicate balance of pressure and precision that most people miss entirely until a cavity forms under the crown.
Why does my bite feel perfect until I start chewing?
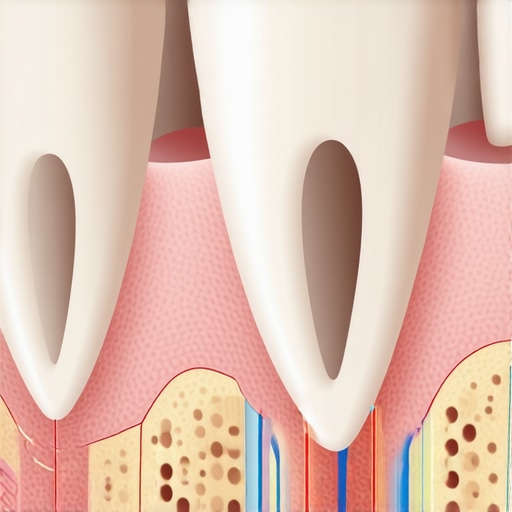
This is a sophisticated nuance that drives patients crazy. You sit in the dentist’s chair, tap your teeth together, and tell the doctor it feels great. Then you go home and realize your crown feels like it has a high spot only when you grind or chew specifically. This happens because your jaw muscles and periodontal ligaments react differently under the dynamic force of eating compared to a static ‘tap-tap’ test. Don’t ignore this sensation. A ‘high’ crown can cause the ligament to become severely inflamed, making it feel like the whole side of your face is throbbing. It is always better to go back for a two-minute adjustment than to wait for the pain to become a full-blown emergency.
The 22-Hour Trap for Aligner Success
In the world of modern orthodontics, how invisalign transforms family dentistry in 2025 is often marketed as the ‘lifestyle-friendly’ choice because you can take the trays out. But there’s a massive hidden trap here: ‘compliance creep.’ Most people start strong but eventually shave off thirty minutes here and an hour there for coffee breaks or long dinners. If those trays aren’t in, your teeth aren’t just sitting still; they are actively trying to relapse into their old, crooked positions. This leads to ‘tracking’ issues where the tray doesn’t fit quite right, and suddenly your invisalign trays are turning yellow even with regular cleaning because they’re spending too much time exposed to the air or being handled with unwashed hands. It’s the same logic as the hidden sign your old silver filling is finally failing—small, invisible changes in fit and pressure lead to structural disasters over time. Precision and discipline are the only ways to keep your smile transformation on track without costly mid-course corrections.
If you’re wearing Invisalign, you’ve probably felt that frustrating gap between the tray and your tooth at some point. I used to think I could just ‘chew’ it into place with my own teeth, but that’s a recipe for cracked plastic and uneven pressure. Instead, I swear by ‘Munchies’—these little medical-grade silicone devices that provide the right resistance to seat the tray perfectly onto your attachments. It’s a total game-changer because if the tray isn’t fully seated, the tooth simply isn’t moving in the direction the software planned. You can learn how to seat stubborn invisalign trays using the munchie technique to ensure your treatment time doesn’t double due to tracking errors. For my crowns, I’ve moved away from standard picks and toward specialized interdental brushes that reach under the contact point without snagging. According to research in the International Journal of Oral & Maxillofacial Implants, the mechanical removal of biofilm at the margin of a restoration is the single most significant factor in preventing secondary caries. This is why I focus so much on family dentistry secrets that go beyond just ‘brushing twice a day.’ 
How do I keep my dental work from failing prematurely?
Keeping your investment intact means treating it like the high-precision machinery it is. For example, if you wear a night guard or a retainer, you can’t just rinse it in water and call it a day. Bacteria builds up in the porous plastic, which can then transfer back to your natural teeth and crown margins. I’ve found that the vinegar soak that safely sanitizes your retainers and guards is the most effective DIY method I’ve ever tried. It’s cheap, it’s safe, and it doesn’t degrade the material like some harsh chemical cleaners can. Looking forward, the world of invisalign innovations is moving toward AI-integrated home scanners. Imagine a world where your phone tells you exactly where you missed a spot around your ultimate guide to crowns or if your gums are slightly more inflamed than they were yesterday. That’s where we’re headed—proactive, data-driven home care. For now, my best advice is to grab a pack of interdental brushes and commit to the lateral-pull floss method tonight. Try doing it just once before bed—your gums will feel noticeably firmer in the morning and you’ll protect the long-term integrity of your smile.
Why My Most Expensive Dental Lesson Had Nothing to Do with Money
For years, I operated under the false assumption that once I left the dental chair, the hard work was over. The most expensive lesson I ever learned wasn’t the cost of the restoration itself, but the realization that professional work only lasts as long as the habits protecting it. I used to view a crown as a fixed object, like a tile on a floor, but it’s actually a living interface. If you don’t focus on the ‘margin’—that tiny area where the porcelain meets your gum—you’re essentially building a house on a shifting foundation. My lightbulb moment happened when I stopped trying to ‘scrub’ my teeth clean and started ‘massaging’ the gum line instead. This subtle shift in pressure is one of the most overlooked family dentistry trends improving oral health for all ages today. It’s not about how hard you work; it’s about how precisely you target the bacteria hiding in plain sight.
The Three Tools I Actually Use Every Night
I’ve tested dozens of gadgets, but my medicine cabinet has been narrowed down to a few essentials that provide the highest return on investment. First, I never travel without interdental brushes; they are far more effective at cleaning the concave surfaces of your teeth than standard floss. Second, I’ve replaced my harsh chemical cleaners with the vinegar soak that safely sanitizes your retainers and guards because it’s gentle on the materials and incredibly effective at breaking down biofilm. Finally, for anyone struggling with tray fit, mastering how to seat stubborn invisalign trays using the munchie technique is non-negotiable. These three tools ensure that your dental work remains a long-term success rather than a temporary fix.
Your Path to a Stress-Free Smile
Taking control of your dental health doesn’t have to feel like a second job. It’s about making these small, intentional adjustments until they become second nature. When you commit to the lateral-pull flossing method and use the right tools for your specific restorations, you’re doing more than just cleaning—you’re protecting your future self from unexpected emergencies. Following these top oral health tips for your family’s bright smiles is the best way to ensure your next appointment is a quick, easy celebration of health rather than a consultation for more work. You’ve invested the time and money into your smile; now, give it the daily respect it deserves to keep it shining. Have you ever had a temporary crown pop off at the worst possible moment? Let me know your ’emergency’ stories in the comments!