
The best way to handle a broken wire on your braces at home
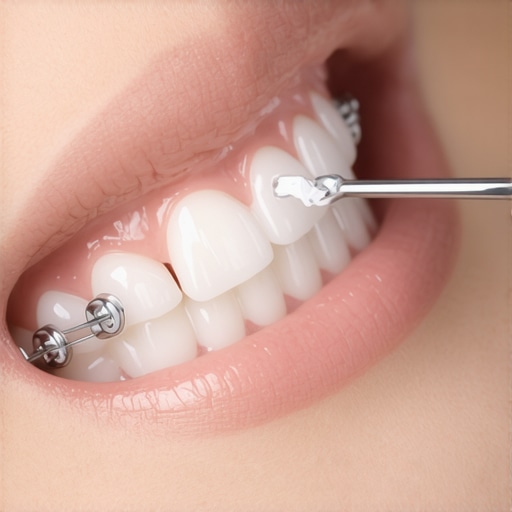
It was 11:30 PM on a Friday. I was halfway through a bowl of popcorn—we all know there is no such thing as truly safe hulls—when I felt it. That sharp, unmistakable tink followed by a needle-like jab into the back of my cheek. I had snapped a wire. My first instinct? Total panic. I stood in front of the bathroom mirror with a flashlight, looking like a mad scientist, wondering if I could just use a pair of rusty needle-nose pliers from the garage. Please, do not ever do that. Dealing with a rogue wire is practically a rite of passage if you have chosen braces over invisalign for your orthodontic journey. But you do not have to suffer through a long weekend of shredded gums or constant poking. Today, I am going to walk you through exactly how I handled my own middle-of-the-night orthodontic emergency and the simple kit you need to keep in your drawer to stay comfortable until your doctor can see you.
Taming the Wire That Is Trying to Eat Your Cheek
The reality of braces is that they are essentially tiny machines in your mouth, and like any machine, they occasionally break or shift. Maybe you were enjoying snacks that seemed safe but turned out to be too crunchy, or perhaps the wire just shifted as your teeth began their movement. Either way, the discomfort is visceral. I once made the mistake of trying to tough it out for three days because I did not want to be a bother, and let me tell you: a mouth ulcer from a poking wire is infinitely worse than the wire itself. According to the American Association of Orthodontists (AAO), most minor orthodontic issues like a poking wire can be temporarily managed at home without it being a true medical emergency, provided you do not swallow any loose parts. The goal right now is purely comfort and stabilization. If you cannot reach your doctor, you need to know how to handle a loose bracket or a sharp edge before it ruins your ability to eat or speak. Often, a simple salt water rinse trick can help soothe the irritation while you figure out your next move.
Is cutting the wire yourself actually worth the risk?
This is where my biggest early mistake happened. I thought I would be clever and use a pair of giant industrial wire cutters from my toolbox. Not only was it terrifyingly close to my lip, but I ended up creating a jagged, new sharp edge that was even more painful than the original break. You have to be surgical and cautious. If you have a sharp edge cutting your tongue or cheek, the better move is often redirection or heavy-duty wax rather than a DIY hardware project. Have you ever had a wire break at the absolute worst possible time, like right before a big date or a vacation? Tell me your story in the comments, because I need to know I am not the only one who has tried to fix their face with a pencil eraser! This foundation of patience and the right tools is what will get you through the night without a trip to the ER.
Push the Wire Back Where It Belongs
Before you reach for anything sharp, try the path of least resistance. If the archwire has simply slid out of the back bracket, it acts like a wayward needle. Use a pair of clean tweezers—disinfect them first with rubbing alcohol—to grasp the wire and try to guide it back into the small tube on the molar bracket. It is a game of patience and steady hands. I remember one Friday night when I was sweating over the bathroom sink, trying to hook a wire that felt like it was miles away. Once it finally clicked back into the bracket, the relief was instant. If the wire is too short to reach the tube but is still poking, use a clean pencil eraser. The rubber tip provides just enough grip to nudge the wire flat against your tooth and away from your cheek. This simple maneuver can prevent the kind of damage that leads you to search for how to stop a sharp tooth from cutting your tongue or other painful soft tissue injuries.
Dry the Area Before Applying Your Wax
Orthodontic wax is the ultimate shield, but it will not stick to a wet surface. This was my biggest rookie mistake. I used to try to glob wax onto a wire that was covered in saliva, and it would inevitably fall off within minutes. You must use a cotton swab or a clean tissue to thoroughly dry the bracket and the wire first. Once the area is bone-dry, take a pea-sized amount of wax, roll it into a ball between your fingers to warm it up, and press it firmly over the sharp point. It should create a smooth, rounded bumper between the metal and your mouth. 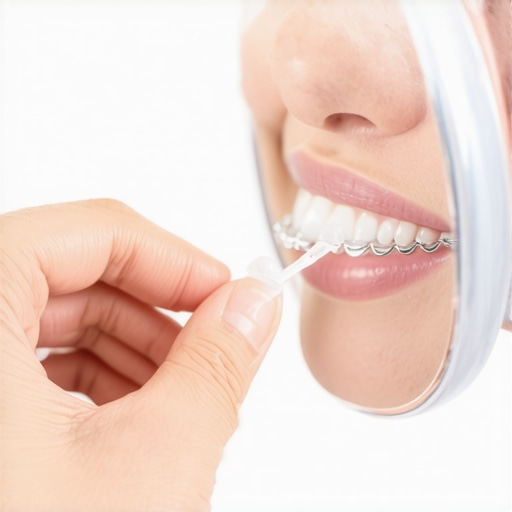 This is especially helpful if you have been eating snacks for kids with new braces that were a bit too adventurous and caused the hardware to shift.
The Only Way to Clip a Wire Without Creating More Problems
If the wire is truly long and the wax is not holding, you may need to snip it. Only do this as a last resort because you risk leaving a jagged edge that is even harder to fix than the original poke. Use a pair of sterilized nail clippers or small wire cutters. Here is the secret: have a family member hold a piece of gauze or a folded tissue behind the wire while you cut. This catches the tiny piece of metal so you do not accidentally swallow it. I once clipped a wire without a ‘catcher’ and spent the next hour frantically searching my floor for a shard of metal. It is not a fun way to spend an evening. If you find that your wire issues are chronic or your oral health feels compromised, it might be time to discuss maintaining oral health with modern techniques with your provider. While traditional braces are effective, some patients find that evaluating invisalign vs braces is a conversation worth having if the metal hardware becomes too difficult to manage. If the poking wire causes a persistent sore, keep the area clean. While this is not as intensive as recovering from crowns for a healthier smile, a small cut in the mouth can still harbor bacteria if ignored. Use a warm salt water rinse three times a day to keep the site from getting irritated while you wait for your office visit.That wire emergency usually makes people wish they’d gone the ‘easy’ route with clear trays. But here is the nuance that most patients—and even some general blogs—completely miss about the clear path.
Stop treating Invisalign like the lazy alternative
While they look invisible, the responsibility is far from it. Many believe aligners are just ‘braces without the pain,’ but the reality is that clear aligner therapy requires much more active participation than fixed hardware. A 2020 study published in the Journal of Clinical Medicine suggests that while fixed braces do the heavy lifting for you, aligner success is entirely predicated on 22-hour-a-day compliance. If you fall short, you aren’t just slowing down the process; you’re creating a ‘tracking’ error. This is often why your invisalign trays feel tighter on some days than others—your teeth are actually trying to rebound to their old positions during the hours you leave the trays on the nightstand. There are plenty of invisalign myths debunked out there, but the biggest one is that it’s a passive treatment. Have you ever fallen into this trap where you thought a dental treatment would be ‘set it and forget it’ and were surprised by the effort? Let me know in the comments. 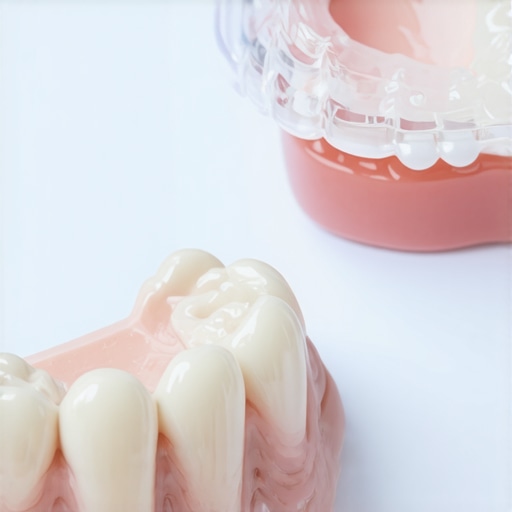
Why does your new crown still feel tall after the first week?
Moving beyond tooth movement, let’s talk about restoration. The ‘Oops’ factor for many adults occurs after getting a tooth repaired with a crown. You might notice what to do when your crown feels taller than your other teeth is often the most searched query post-procedure. The mistake? Thinking you just need to ‘get used to it’ for a month. If a crown is high by even the width of a hair, your jaw will subconsciously shift to avoid it, leading to localized inflammation in the periodontal ligament. This is often the specific reason your crown feels tall when you wake up; your jaw muscles have been fighting that slight elevation all night through clenching. Professional expert advice for long-lasting results always includes a follow-up bite check if things don’t feel perfectly level within 48 hours. Never ‘tough out’ a bite issue. Finally, for those looking to brighten their smile alongside their new dental work, be extremely cautious. One of the most dangerous DIY moves is the danger of using whitening strips on a tooth with a filling or a crown. The bleach will not change the color of the porcelain or composite, but it can seep into the tiny margins where the restoration meets the natural tooth, causing extreme sensitivity or even weakening the adhesive bond. Staying informed on invisalign innovations and modern restorative techniques is the only way to ensure your quick fix doesn’t become a long-term dental bill.Handling the immediate crisis of a poking wire or a high crown is one thing, but the real magic happens in the weeks and months that follow. I’ve learned the hard way that you cannot rely on willpower alone to maintain a complicated dental setup. You need a system. After years of trial and error with various gadgets, I have narrowed down the essentials that actually make a difference for anyone balancing a mix of natural teeth, clear aligners, and restorative work. This isn’t just about brushing; it is about protecting the investment you have made in your face. If you want to avoid future emergencies, you need to start looking at top oral health tips for your familys bright smiles through a more technical lens.
The tool that finally ended my flossing fatigue
For me, the absolute game-changer was the countertop water flosser. If you have a permanent retainer or a bridge, you know that manual flossing is a slow-motion nightmare. I used to skip it more often than I’d like to admit because threading that tiny piece of plastic felt like performing surgery every night. Once I switched to a high-pressure water flosser, my hygienist actually asked what I had changed. It is the only way I found the secret to eating popcorn with a permanent retainer without spending twenty minutes digging for hulls later. For those with crowns, this tool is equally vital. It flushes out the margins where a traditional toothbrush simply cannot reach. If you are struggling with how to manage a crown that feels sensitive to air or cold liquids, keeping that gum line pristinely clean with water irrigation can often reduce the underlying inflammation causing the sensitivity.
How do I maintain my dental work over time?
Consistency is the boring but honest answer, but the secret lies in the ‘soak.’ Many people scrub their aligners with a toothbrush, which creates microscopic scratches that harbor bacteria and make the plastic look cloudy. I personally use a small ultrasonic cleaner—a little pod that uses high-frequency sound waves to vibrate the debris off. A 2016 study in Clinical Oral Investigations demonstrated that ultrasonic cleaning is significantly more effective at removing biofilm from orthodontic appliances than manual brushing alone. This is exactly how to keep your aligners clear while drinking tea or coffee; you need to remove the stains at a microscopic level rather than just the surface. 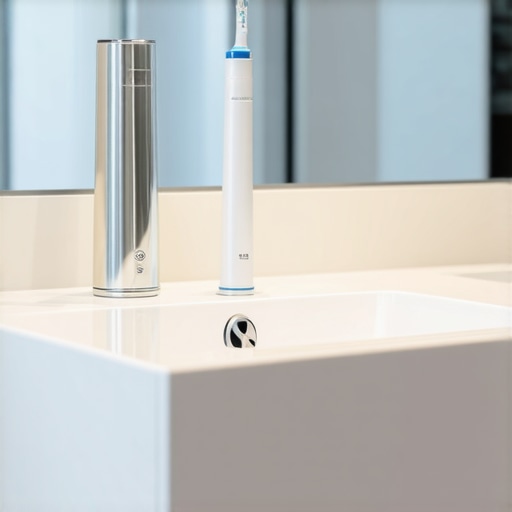
Why your bathroom counter will look like a tech lab soon
We are moving toward an era of ‘smart’ family dentistry. I predict that within the next five years, we won’t just be guessing if we brushed long enough; our toothbrushes will sync with our phones to show us a heat map of the plaque we missed. We are already seeing the beginnings of this with invisalign innovations that allow for remote monitoring. Imagine not having to drive to the office just for a 2-minute check-in because an AI scan of your teeth confirmed everything is tracking perfectly. This shift toward data-driven care is one of the biggest family dentistry secrets maintaining oral health with modern techniques that is becoming accessible to the average patient. It takes the guesswork out of the equation. Whether you are following choosing the right crown expert advice for long-lasting results or just trying to get your kids through their first orthodontic phase, the goal is the same: use the technology to do the heavy lifting for you. My best advanced tip? Go buy a small ultrasonic cleaner for your aligners or retainers today. It is a $40 investment that will save you from the ‘cloudy tray’ look and keep your breath much fresher than brushing alone ever could.
What Nobody Tells You About Living with Dental Hardware
After years of navigating everything from snapped wires to new porcelain, I have realized that the most important lesson is proactivity. If you wait for the pain to become unbearable, you have already waited too long. Here are a few lightbulb moments I wish I had understood earlier:
- Mouth sensitivity is cumulative; a tiny scratch from a wire on Friday becomes a painful ulcer by Sunday night if you do not cushion it immediately.
- The success of your treatment depends more on your habits at home than the hours spent in the dentist’s chair.
- Your gums are the foundation; even the most expensive restoration cannot save a smile if the supporting tissue is neglected.
By focusing on maintaining oral health with modern techniques, you can ensure that your dental work stays functional and comfortable for years. Often, the transition to new hardware feels daunting, but debunking common invisalign myths can help you stay focused on the long-term benefits of a straighter smile.
The Gear That Keeps My Smile Professional
Managing dental work is not just about the office visits; it is about the tools you use every single night. I trust these three items explicitly because they changed my daily routine from a chore into a system. #IMAGE_PLACEHOLDER_E#
- The Ultrasonic Cleaner: This is the gold standard for keeping retainers and aligners transparent. Brushing them with toothpaste actually creates micro-scratches that trap bacteria and cause cloudiness.
- Water Irrigation: This is non-negotiable for anyone who wants to follow top oral health tips for your familys bright smiles, as it reaches where traditional floss fails, especially around permanent retainers.
- Expert Fit Checks: If you have a restoration, always follow expert advice for long-lasting results and have your bite checked if a crown feels even slightly elevated.
Take Control of Your Dental Journey
Whether you are currently dealing with the sharp jab of a broken wire or are just starting to research the ultimate guide to crowns for a healthier smile, remember that you are the primary advocate for your own comfort. Modern dentistry has provided us with incredible tools to fix almost any issue, but your daily habits and your willingness to speak up when something feels off are what truly ensure success. Your oral health is a lifelong investment that pays dividends in confidence and pain-free living. Have you ever had a dental emergency strike at the worst possible moment, or perhaps a DIY fix that went surprisingly well? Let me know your stories in the comments!