
Why your Invisalign aligners keep popping off your back teeth
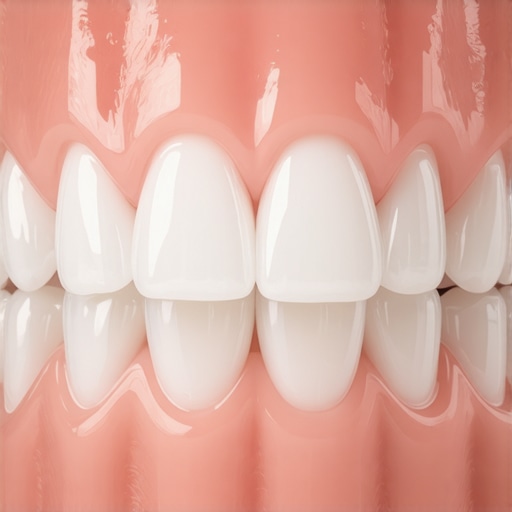
I was sitting in a quiet coffee shop, trying to look sophisticated while sipping a latte, when I felt that distinctive, heart-sinking click-pop. My back left aligner had decided it didn’t want to live on my molar anymore. I spent the next twenty minutes trying to discreetly shove it back down with my tongue, looking like I was chewing on invisible taffy. I was terrified that my teeth were the wrong shape or that I’d wasted a small fortune on a treatment that wouldn’t work for me. It’s a visceral, frustrating moment that many of us in the Invisalign journey face, and honestly, it’s enough to make you want to toss the whole tray in the trash. We are going to solve that annoying spring-back effect today so you can finally get back to focusing on your day rather than your dental hardware.
Stop Your Aligners from Playing Trampoline with Your Molars
The reality is that your back teeth—those sturdy molars—are the anchors of your orthodontic progress. When your aligner won’t sit flush against them, it isn’t just an annoyance; it can actually stall your results. Early on, I made the mistake of thinking I could just tough it out and wait for the next tray to fit better. That was a huge error on my part. That tiny gap prevents the plastic from exerting the precise pressure needed for movement. According to the American Association of Orthodontists, clear aligners must be fully seated to ensure the programmed tooth movements actually occur. If there is air between the tray and the tooth, you are essentially just wearing a glorified mouthguard rather than a medical device. Getting that fit perfect is essential for avoiding a smile that looks uneven in photos once the treatment is supposed to be done.
Is This Actually Going to Ruin My Progress?
It is a valid fear to wonder if a little bounce in the back is a dealbreaker. If you do not address the fit, you might find yourself dealing with an annoying whistle when you talk or trays that simply stop tracking altogether. Have you ever felt that frustrating spring-back and just assumed the tray was a dud? Let me know, because I’ve been right there with you. The good news is that this is usually a mechanical issue with the tray’s seating, not a problem with your actual jaw. One of the most effective ways to get that snug fit is learning how to seat stubborn trays using the munchie technique. It is a total game-changer for those of us with slippery molars. Sometimes the issue is as simple as a slight manufacturing quirk in the plastic, but more often, it’s about how we handle the trays. I used to struggle just removing stubborn aligners, which actually warped the back edges over time. It is those little habits that make or break your oral health experience.
Master the Back-to-Front Click Every Single Time
When you just jam the tray in and hope for the best, you’re basically setting yourself up for failure. Think of your aligner like a high-end snap-on lid for a Tupperware container. If you don’t start at one corner and work your way around, you’ll always have that one stubborn side that refuses to seal. I’ve found that the best way to avoid the spring-back is to seat the front teeth first, then use your thumbs to press firmly on the molar sections simultaneously. This prevents the tray from pivoting or ‘seesawing’ across your arch. If you feel like your teeth feel loose during treatment, that’s actually a sign that the movement is happening, but it makes a snug fit even more critical so the tray doesn’t slip off these shifting foundations. I remember one frantic morning before a presentation where I couldn’t get the left side to stay down; I realized I was pushing at an angle rather than straight up. Once I realigned my thumbs and applied vertical pressure, the ‘click’ was audible and the tray finally stayed put.
Use Constant Pressure Instead of Sharp Jabs
Instead of brute force, you need sustained, gentle pressure. This is where how to seat stubborn trays using the munchie technique becomes your best friend. I eventually learned to spend about five minutes every night just ‘chewing’ the tray into place with a silicone seater. It’s the difference between the tray sitting on the tooth and the tray gripping the tooth. If you don’t have a professional chewie, a clean, tightly folded piece of paper towel can work in a pinch, but the uniform density of a dedicated tool is far superior for engaging the molar deep into the plastic cup. 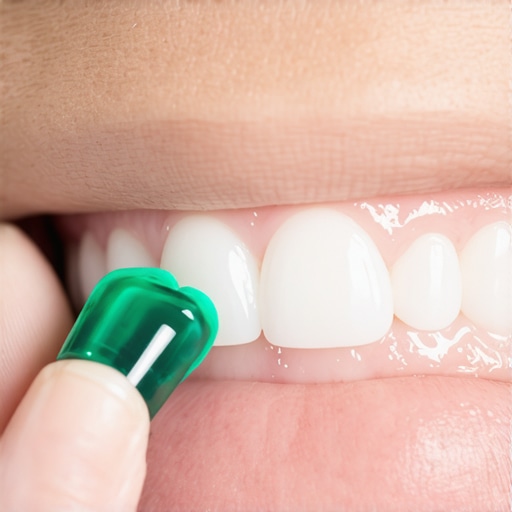
Check for Physical Warping Before You Blame Your Teeth
Sometimes the problem isn’t your mouth; it’s the plastic. If you’ve been using the trick to removing stubborn aligners by pulling hard from just one side, you might have inadvertently bent the back edge of the tray. This creates a permanent ‘flare’ that will never sit flush against your molar, no matter how hard you bite down.
Fixing the Hidden Obstacles to a Flush Fit
Run your finger along the edge of the tray before putting it in. Does it feel smooth, or is there a slight outward curve? If the plastic is flared, it will catch on your cheek and pull away from the molar. If it’s just a minor irritation, you can often find the simple fix for a sharp Invisalign edge by using a tiny bit of orthodontic wax, though you should always check with your provider before trying to manually bend the plastic back. In my experience, I once realized I was washing my trays in water that was way too hot, which was subtly melting the shape of the back molar cups. Switching to lukewarm water and utilizing modern maintenance techniques preserved the integrity of the plastic so it stayed rigid enough to snap into place and stay there.
I used to think that as long as the trays were in my mouth for 22 hours a day, I was doing everything right. But here is the contrarian truth: simply wearing your aligners isn’t enough if the mechanical engagement is failing. Most people believe that ‘pain equals progress’ during orthodontic treatment. In my experience, and backed by clinical observation, sharp or localized pain—especially that annoying spring-back feeling on your molars—is often a sign of poor tracking rather than healthy tooth movement. A study published in the American Journal of Orthodontics and Dentofacial Orthopedics emphasizes that the ‘fit’ of the appliance is the primary predictor of successful tooth translation. If the tray is bouncing, the force is being distributed incorrectly, which can lead to roots tipping rather than the whole tooth moving. This is one of the many hidden benefits of Invisalign for family dental care that people overlook; it requires an active partnership between the patient and the plastic.
Why Straight Teeth Are Only Half the Battle
We often focus so much on the front-facing ‘social six’ teeth that we ignore how the back molars dictate our entire bite. If you are struggling with a tray that refuses to stay down, you might be experiencing a minor ‘posterior open bite,’ a common nuance where the thickness of the plastic prevents your molars from touching, eventually causing them to intrude into the jaw. This is why mastering the ‘munchie’ or ‘chewie’ is non-negotiable. It isn’t just about comfort; it is about forcing the plastic to encapsulate the tooth entirely. When we look at how Invisalign transforms family dentistry, we see that the most successful cases are those where patients understand the physics of their trays, not just the aesthetics.
Does an Old Dental Crown Sabotage Your Aligner Fit?
This is a question I get asked constantly by those who have had previous restorative work. The short answer? Yes, it can. If you have a crown that was placed years ago, its shape might be slightly more bulbous than a natural tooth. This can cause the aligner to ‘slip’ off the smooth porcelain surface more easily than it would on natural enamel. You might even feel like your dental crown feels like it is shifting when you press the tray down. In some cases, a new zirconia crown feels taller than your other teeth, which creates a high point that the aligner has to fight against every time you bite. If your molar won’t seat, check if that specific tooth has a restoration; your dentist may need to add a small composite ‘attachment’ to that crown to give the plastic something to grip onto. 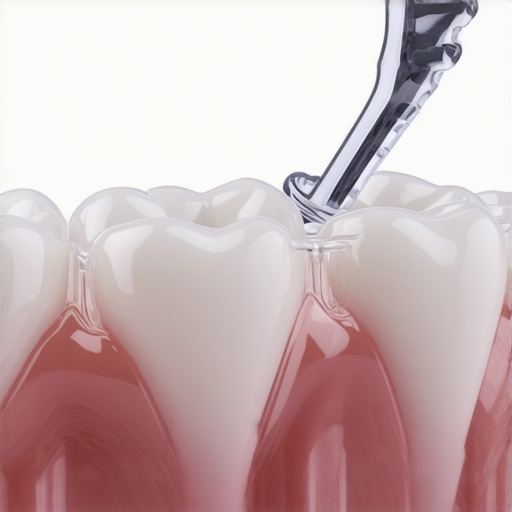
The Over-Cleaning Trap You Need to Avoid
Here is the ‘oops’ factor that almost nobody warns you about: the way you clean your trays can actually change their shape. I’ve seen patients who, in an effort to be hyper-hygienic, soak their trays in boiling water or use alcohol-based mouthwashes. This is a catastrophic mistake. Clear aligners are made of thermoplastic material with ‘shape memory.’ High heat or harsh chemicals can cause the back ends of the tray to ‘relax’ or flare outward. Once that flare happens, no amount of chewing will make it sit flush again. Instead of using harsh chemicals, I recommend the vinegar soak that safely sanitizes without warping the material. It keeps the plastic rigid so it can do its job. We’ve seen these modern maintenance techniques save dozens of treatments from needing expensive mid-course refinements. Have you ever fallen into the ‘pain equals progress’ trap or accidentally warped a tray? Let me know in the comments—I’d love to hear how you handled it.
I’ve moved past the beginner phase of my dental journey, and if you want to scale your results, you need better gear than just a plastic case and a toothbrush. I personally swear by an ultrasonic cleaner. It is a small pod that uses high-frequency sound waves to blast off biofilm and microscopic debris that brushing simply cannot reach. It is far more effective than a traditional scrub, which can actually leave micro-scratches in the plastic that trap bacteria and lead to cloudiness. Knowing how to keep your Invisalign trays clear without buying expensive cleaners is a great start, but the ultrasonic tech is the pro move for anyone serious about hygiene. I also keep a dedicated Pul-tool in every bag I own. Pulling from the inside of the molar—never the front—prevents the plastic from stretching out of shape and preserves that critical ‘snap’ we discussed earlier. 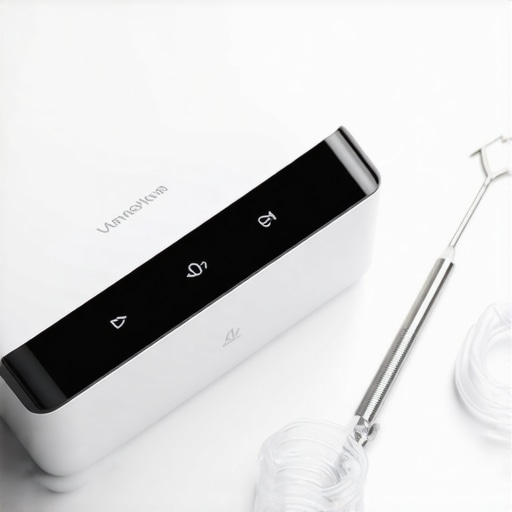
How do I maintain my alignment and dental work over the long haul?
The finish line isn’t when the trays come off; it is a lifelong commitment to stability. If you have had restorative work, like a crown, you have to be even more vigilant about how your bite settles. I have learned that why crowns are a game-changer in restorative dentistry often comes down to their ability to protect a weakened tooth while you shift everything else around it. But once those teeth are in their new home, you need to ensure you are choosing the right crown expert for any future repairs to ensure the fit does not compromise your new bite. You will eventually move to a Vivera or a permanent retainer. My advice? Get a backup set immediately. A clinical review in the Journal of Clinical Orthodontics highlights that the ‘SmartTrack’ material used in modern aligners holds its shape significantly better than standard clear plastics, but even the best materials yield to gravity and time if you do not wear your retainers as prescribed. Keeping these tools clean and functional is the only way to avoid ‘relapse,’ where teeth start drifting back to their old, crooked ways.
The Future of Your Smile is Getting High Tech
We are entering an era where dental care is becoming incredibly personalized and data-driven. Looking at Invisalign innovations, we are seeing a shift toward remote monitoring where you can scan your teeth with a smartphone and send the data directly to your doctor. This means fewer office visits and faster corrections if a tray starts to bounce or lose its seat. I predict that in the next five years, top oral health tips will revolve around bio-compatible 3D printed materials that can actually release fluoride or calcium while you wear them. For now, focus on the basics: get an ultrasonic cleaner and stop using your fingernails to pry those trays off. Your molars and your manicure will thank you. Maintaining these results is about the functional harmony of your jaw; when your teeth are aligned, you are less likely to experience the uneven wear that leads to needing expensive restorations later. If you are currently struggling with a tray that won’t seat, go grab a ‘munchie’ or a clean silicone chewie and spend the next ten minutes focused purely on that back molar engagement. It is the single most effective thing you can do tonight to keep your progress on track.
What I Learned After 40 Trays of Trial and Error
One thing that hit me late in my Invisalign journey was that a tray isn’t a passive piece of plastic; it’s a tool that requires active engagement. If it’s not clicking, it’s not working. I also realized that the ‘bounce’ often happens because the aligner is catching on the attachments—those little bumps of composite your dentist glued to your teeth. If you don’t seat the tray exactly over them using vertical pressure, the molar will always spring back because the plastic is resting on the bump rather than surrounding it. Also, don’t ignore your gum health; if the plastic is causing a gap, bacteria can pool there. Learning how to tell if your gums are receding or just irritated by the tray edge is a vital part of your long-term success. The biggest lightbulb moment for me was realizing that the first 48 hours of a new tray are the most critical; if you don’t get a flush fit in those first two days, the tooth won’t track for the rest of the week.
The Gear That Actually Saved My Sanity
I eventually stopped relying on just my fingers and moved to a more professional maintenance setup. If you want to keep your treatment on track, I personally recommend these three essentials: Ultrasonic Cleaners (they blast off the biofilm that makes trays feel ‘slippery’ on your molars), a dedicated Pul-Tool (this is better than the trick to removing stubborn aligners with your nails which can warp the plastic), and Orthodontic Wax for those early days of irritation. I also found that the vinegar soak that safely sanitizes is the best way to keep things fresh without the risk of high-heat warping. These tools aren’t just extras; they are what allow you to implement top oral health tips while living a busy lifestyle. If you ever feel like a tray is truly defective, don’t hesitate to check the serial number on the bag against the tray itself to ensure you haven’t received a mix-up.
Take Control of Your Smile Transformation
Your smile is an investment in your future confidence and functional health. Whether you are currently exploring how Invisalign transforms family dentistry or you are managing a mix of natural teeth and restorative work like why crowns are a game-changer, the secret is your own vigilance. Don’t let a bouncing molar or a tiny gap discourage you; these are simply mechanical puzzles that can be solved with the right seating techniques and tools. Trust the Invisalign journey, use your chewies religiously, and keep those trays pristine. You are much closer to that perfect alignment and a healthy bite than you think. Have you ever felt that annoying bounce in the back of your tray or had a molar that refused to track? Let me know your best trick for seating it in the comments below!