
The easiest way to clean a night guard that has turned yellow or cloudy
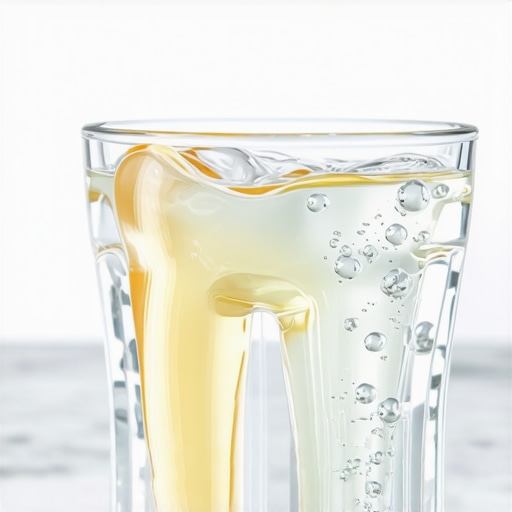
I remember the morning I finally looked—really looked—at my night guard in the harsh bathroom light. It wasn’t just off-white anymore; it looked like a piece of vintage parchment that had been soaked in swamp water. I had been popping this yellowed, cloudy thing into my mouth every single night, thinking I was doing my teeth a favor. Honestly? It was visceral and embarrassing. I felt like I was failing at basic hygiene, even though I followed all the standard oral health tips. If you have ever felt that twinge of disgust when you see your dental appliance in the morning, I am here to tell you that you are not gross, and your night guard isn’t a lost cause. Today, I’m going to share exactly how I saved mine and how you can get yours crystal clear again using items you probably already have in your pantry.
Why Your Clear Guard Now Looks Like a Shady Piece of Plastic
The transformation from a transparent, sleek appliance to a cloudy mess happens so gradually you barely notice it—until it’s too late. That cloudiness is usually a combination of mineral buildup from your saliva and a persistent biofilm of bacteria. Early on in my journey, I made a massive mistake: I thought if it was dirty, I should just use the hottest water possible to ‘sterilize’ it. Big mistake. I ended up warping the plastic, and my expensive custom guard never fit quite right again. I’ve also talked to people who tried using colored mouthwash, only to end up with a night guard that looked like it belonged to a Smurf. If your guard has reached the point where it smells like vinegar or has visible white spots, you are dealing with calcium deposits that a simple toothbrush won’t touch. We need to break down those minerals without compromising the integrity of the material. Have you ever noticed a weird film on your guard even after you’ve scrubbed it for five minutes?
Can you really get the clear look back without ruining the plastic?
It is natural to be skeptical. After all, once plastic is stained, it usually stays stained, right? Not necessarily. While some deep internal discoloration might persist if the guard is years old, most of that yellow ‘cloud’ is topical. According to a study published by the National Institutes of Health, dental appliances can harbor significant amounts of bacteria and yeast if not cleaned with a specific antimicrobial approach. Brushing alone only clears away about 50% of the junk. I found that the secret lies in gentle acidity and effervescence. I’ve learned the hard way that cleaning dental appliances without harsh chemicals is the only way to preserve the ‘grip’ of the guard while actually killing the odor-causing bacteria. Just like how you have to keep aligners clear by avoiding certain habits, rescuing a yellowed guard requires a specific routine that goes beyond a quick rinse under the tap. We are going to look at a simple soak that acts like a spa day for your dental gear, stripping away the minerals and leaving it looking—and tasting—brand new.
The Two-Ingredient Oxygen Soak That Actually Works
To get that professional-grade transparency back, you don’t need a laboratory; you just need your medicine cabinet. I started experimenting with a 1:1 ratio of 3% hydrogen peroxide and lukewarm water. I call it the ‘oxygen bath.’ Think of it like a deep-clean for your pores, but for your dental appliance. The peroxide acts as an antimicrobial agent that penetrates the porous surface of the plastic to lift out the biological ‘stains’ that cause that sickly yellow tint. I remember the first time I tried this; I left my guard in a glass on the bathroom counter and went to make coffee. When I came back, the water was filled with tiny, fizzing bubbles that looked like a middle-school science project. It was gross, but satisfying, because I knew the oxygen was literally tearing the biofilm apart. If you find your guard has reached a point where it is hard to keep fresh, cleaning a night guard that has started to smell like vinegar requires this specific oxidative boost to reset the pH balance of the material.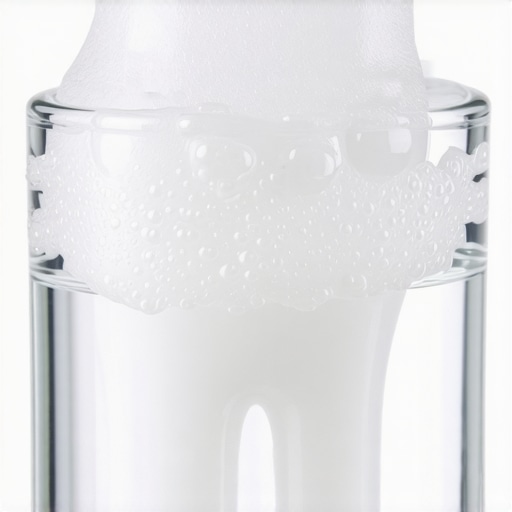
Stop Scrubbing Like You Are Cleaning Tile Grout
One of the biggest mistakes I made early on was attacking my guard with the same vigor I use when I’m trying to get a stain out of the carpet. You have to be gentle. Use a soft-bristled toothbrush—one dedicated specifically to your guard. Using your daily toothbrush is a bad idea because it transfers the very bacteria you just removed from your teeth back onto the plastic. If you have noticed why your teeth feel sticky even after you just brushed, imagine that same sticky film (plaque) hardening on your guard into tartar. To combat this, I create a thin paste of baking soda and water. It’s mildly abrasive—just enough to buff away the calcium deposits without creating microscopic scratches where more bacteria can hide. It is a much safer alternative than using trendy but damaging options; for instance, the truth about charcoal toothpaste and your tooth enamel is that it’s often too gritty, and the same logic applies to your night guard. You want to polish, not sand.
Mastering the Weekly Deep Clean Routine
Consistency is the only way to prevent that ‘swamp water’ look from returning. Once a week, I dedicate fifteen minutes to a deep soak using the same principles we use for cleaning your retainers without using harsh chemicals. If you have moved on to more modern alignment systems, you’ll find that keeping your aligners clear follows almost the exact same protocol. I learned this the hard way when I went on a camping trip and only rinsed my guard with lake water for three days. By the time I got home, the mineral buildup was so thick I thought I’d have to throw the whole thing away. I had to soak it in a white vinegar solution for thirty minutes to dissolve the heavy ‘calcification’ before I could even get to the peroxide step. It was a messy, smelly lesson in why daily maintenance beats an emergency rescue every time. When you are dealing with expensive restorative work, like following top oral health tips for your family’s bright smiles, protecting the tools that protect your teeth—like your guard—is the most cost-effective thing you can do. Always rinse with cold water immediately after the soak to ensure no residual taste remains.While I was obsessed with the color of my night guard, I completely ignored how the plastic was interacting with my actual dental work. Most people think that once a dentist places a crown or you start clear aligners, the hard part is over. In reality, your mouth is a dynamic, shifting environment. One common myth I see circulating is that dental porcelain and aligner plastics are indestructible. While they are incredibly tough, they do not behave like natural enamel. For instance, if you’ve ever wondered the specific reason your crown feels tall when you wake up, it is often not the crown itself but how your jaw settles during the night. I used to think my dentist had just messed up the fit, but the ‘Oops’ factor here is ignoring how systemic stress affects your bite alignment.
Why Your Bite Changes Even With Permanent Dental Work
In my experience, many patients believe that a crown or an implant is a one-and-done solution. However, the surrounding teeth and bone are constantly remodeling in response to every bite. This is why choosing the right crown expert is vital; they understand that the restoration must account for future movement and the way your jaw joint functions. According to research published in the Journal of Oral Rehabilitation, the periodontal ligament—the tiny fibers that hold your teeth in place—is incredibly sensitive to microscopic changes in pressure. If your night guard is even a fraction of a millimeter off, or if you are dealing with Invisalign myths that suggest your bite won’t change, you’re in for a surprise. Your teeth are not anchored in concrete; they are held by living tissue that responds to the environment.
Why does my new dental work feel slightly off when I first wake up?
This usually happens because of nocturnal clenching or the way fluid pressure changes in your gums while you lie down. Even if you use a guard, the ligament can compress slightly, making a tooth feel ‘taller’ than its neighbors. I’ve learned that ignoring these micro-shifts is the fastest way to damage a high-end crown for a healthier smile.  The ‘trap’ most people fall into is assuming their bite is static. Modern diagnostics, like why finding the best dentistry in Culpeper VA usually starts with a 3D CBCT scan, help map these tiny nuances before they become painful problems.
Don’t Use Whitening Strips on New Crowns
If you try to force a whitening treatment during the initial weeks of a new restoration, you might run into the danger of using whitening strips on a tooth with a filling or crown. The chemical agents won’t change the color of the porcelain, but they can irritate the already sensitive margins where the crown meets the gumline. I learned this when I tried to brighten my smile for a wedding and ended up with a throbbing ache because I didn’t wait for my tissues to settle. Keeping up with family dentistry trends means realizing that your hardware needs as much care as your software—your gums. Similarly, if you’ve noticed why your Invisalign trays are suddenly making you lisp, it is often a sign of biofilm buildup or a slight tray mismatch that needs professional adjustment. Don’t just ignore the ‘oops’ of a poorly fitting tray. The goal is to have the aligners guide your teeth, not frustrate your speech. Have you ever fallen into the trap of thinking your dental work was ‘set and forget’? Let me know in the comments below.I used to think that my manual scrubbing was the peak of dental hygiene, but my perspective changed when I discovered the power of cavitation. If you are still using a toothbrush to clean your appliances, you are missing the microscopic level of clean that only technology can provide. I eventually invested in a small, medical-grade ultrasonic cleaner, and it was a revelation. These devices use high-frequency sound waves to create millions of tiny bubbles that implode, literally blasting biofilm off the surface of your night guard or aligners. According to technical specifications from Zest Dental Solutions, this process reaches into the porosities of the plastic that a bristle simply cannot touch. Integrating this into your family dentistry secrets routine transforms your appliance from ‘passable’ to ‘surgically clean’ in about five minutes. I specifically use it every Sunday evening to reset my gear for the week ahead, ensuring that I never deal with that cloudy buildup again.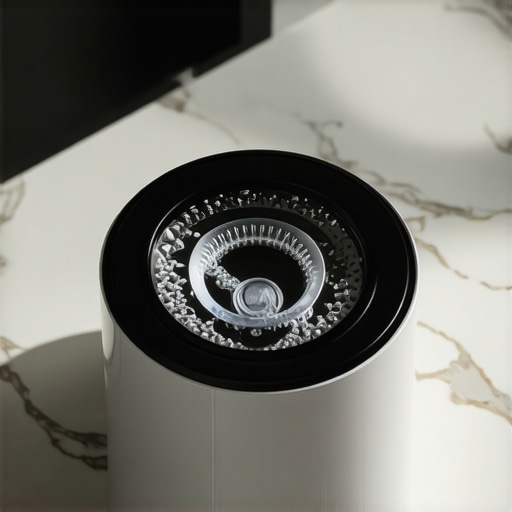
How do I keep my dental work looking fresh for a decade?
Maintaining the longevity of your investment requires more than just luck. If you have opted for crowns for a healthier smile, you have to be mindful of the margin where the porcelain meets your natural tooth. This is the ‘danger zone’ for plaque. I personally switched to a water flosser with a specialized ‘plaque seeker’ tip. Unlike traditional string, which can sometimes snag on the edge of a restoration, the targeted water stream flush out debris without mechanical stress. This is one of the most effective top oral health tips for those with complex dental work. Whether you are navigating Invisalign vs braces, the tool you choose determines the health of the bone and gums supporting your teeth. I’ve found that using a water flosser on the lowest setting around new work prevents the irritation that often leads to why your gums feel sore after getting a new dental crown.
The 2030 Vision for Your Bathroom Counter
Looking ahead, I predict that we are moving toward a ‘smart’ dental ecosystem. We are already seeing Invisalign innovations that involve remote monitoring apps, but the next step is likely AI-integrated sensors built directly into your night guard. Imagine an appliance that pings your phone when it detects a change in your saliva’s pH level or a shift in your grinding intensity. This isn’t science fiction; it is the logical progression of how Invisalign transforms family dentistry in 2025 and beyond. We will stop guessing if our bite is changing and start seeing real-time data. For now, the best thing you can do is stick to the high-tech basics. If you want to see an immediate difference in the clarity of your guard, I highly recommend trying the ultrasonic soak combined with a 1:1 peroxide mix. It’s the closest you’ll get to a professional lab cleaning at home. If you have questions about how your specific restorations should be maintained, don’t hesitate to contact us for expert guidance.
The Critical Mistakes I Stopped Making with My Dental Gear
When I first started this journey, I assumed that as long as I was scrubbing, I was winning. I quickly realized that effort doesn’t always equal results in family dentistry. One of the biggest ‘lightbulb moments’ for me was realizing that microscopic scratches from a hard toothbrush were actually creating tiny apartments for bacteria to move into. I had to learn to stop treating my expensive night guard like a piece of floor tile. Another hard-earned lesson was the importance of temperature; hot water is a silent killer for custom-fit plastics. It can subtly warp the shape, leading to that annoying feeling of a crown that feels off or trays that just don’t sit right. I also learned that oral health isn’t just about what happens during the day; the environment of your mouth at 3 AM is where the real maintenance battle is won or lost. If you have ever fallen for Invisalign myths that suggest these trays are indestructible, you know the frustration of seeing them cloud up after just a week of improper care. Once I shifted my focus from ‘scrubbing’ to ‘oxygenating,’ everything changed.
A Curated Guide to My Favorite Professional Cleaning Secrets
To maintain a pristine environment for your teeth, you need a toolkit that works as hard as you do. I personally rely on a few specific methods to keep my gear in top shape. First, I highly recommend looking into family dentistry secrets that prioritize non-abrasive cleaning, such as using high-quality ultrasonic baths. For diagnostic clarity, I always suggest that finding the best dentistry in Culpeper VA usually starts with a 3D CBCT scan because it takes the guesswork out of how your bite is shifting. I also suggest keeping a dedicated log of when you replace your cleaning solutions; it is easy to let a month slip by without a fresh soak. If you are navigating the transition between different treatments, understanding the nuances of Invisalign vs braces can help you choose the right cleaning tools for your specific lifestyle. Finally, I always keep a bottle of 3% hydrogen peroxide on hand; it is the most cost-effective and efficient antimicrobial tool for any removable appliance. These tools don’t just keep things clean; they protect the significant investment you have made in your smile.
Believe in the Power of a Fresh Start for Your Smile
It is never too late to reverse the ‘yellowing’ and reclaim the transparency of your dental appliances. By moving away from harsh chemicals and adopting a routine rooted in gentle science, you can ensure your oral health stays on the right track for decades. Whether you are maintaining a new set of crowns for a healthier smile or simply trying to keep your nightly guard from smelling like a locker room, consistency is your greatest ally. Don’t let a little bit of mineral buildup discourage you from wearing the tools that protect your teeth. The future of your smile is bright, clear, and completely within your control. If you ever feel overwhelmed by the technical side of maintenance, remember that expert help is always available to keep your progress on track. Feel free to contact us if you need a professional deep clean or a check-up on your appliance’s fit. Have you ever found a cleaning hack that actually worked to get those stubborn white spots off your night guard? Let me know in the comments below!